Color, light & texture
Let’s continue our OpenGL exploration using the same cube example as in previous section.

Colored cube
Now we’ll discover why glumpy is so useful. To add color per vertex to the cube, we simply define the vertex structure as:
V = np.zeros(8, [("a_position", np.float32, 3),
                 ("a_color",    np.float32, 4)])
V["a_position"] = [[ 1, 1, 1], [-1, 1, 1], [-1,-1, 1], [ 1,-1, 1],
                   [ 1,-1,-1], [ 1, 1,-1], [-1, 1,-1], [-1,-1,-1]]
V["a_color"]    = [[0, 1, 1, 1], [0, 0, 1, 1], [0, 0, 0, 1], [0, 1, 0, 1],
                   [1, 1, 0, 1], [1, 1, 1, 1], [1, 0, 1, 1], [1, 0, 0, 1]]
And we’re done ! Well, actually, we also need to slightly modify the vertex shader since color is now an attribute (and not a constant).
vertex = """
uniform mat4   u_model;         // Model matrix
uniform mat4   u_view;          // View matrix
uniform mat4   u_projection;    // Projection matrix
attribute vec4 a_color;         // Vertex color
attribute vec3 a_position;      // Vertex position
varying vec4   v_color;         // Interpolated fragment color (out)
void main()
{
    v_color = u_color;
    gl_Position = u_projection * u_view * u_model * vec4(a_position,1.0);
} """

fragment = """
varying vec4   v_color;         // Interpolated fragment color (in)
void main()
{
    gl_FragColor = v_color;
} """
Furthermore, since our vertex buffer fields corresponds exactly to program attributes, we can directly bind it:
cube = gloo.Program(vertex, fragment)
cube.bind(V)
Note
You could also have written
cube = gloo.Program(vertex, fragment)
cube["a_position"] = V["a_position"]
cube["a_color"] = V["a_color"]
If you look closely at shader source, you’ll see a new type of shader variable:
varying vec4 v_color;
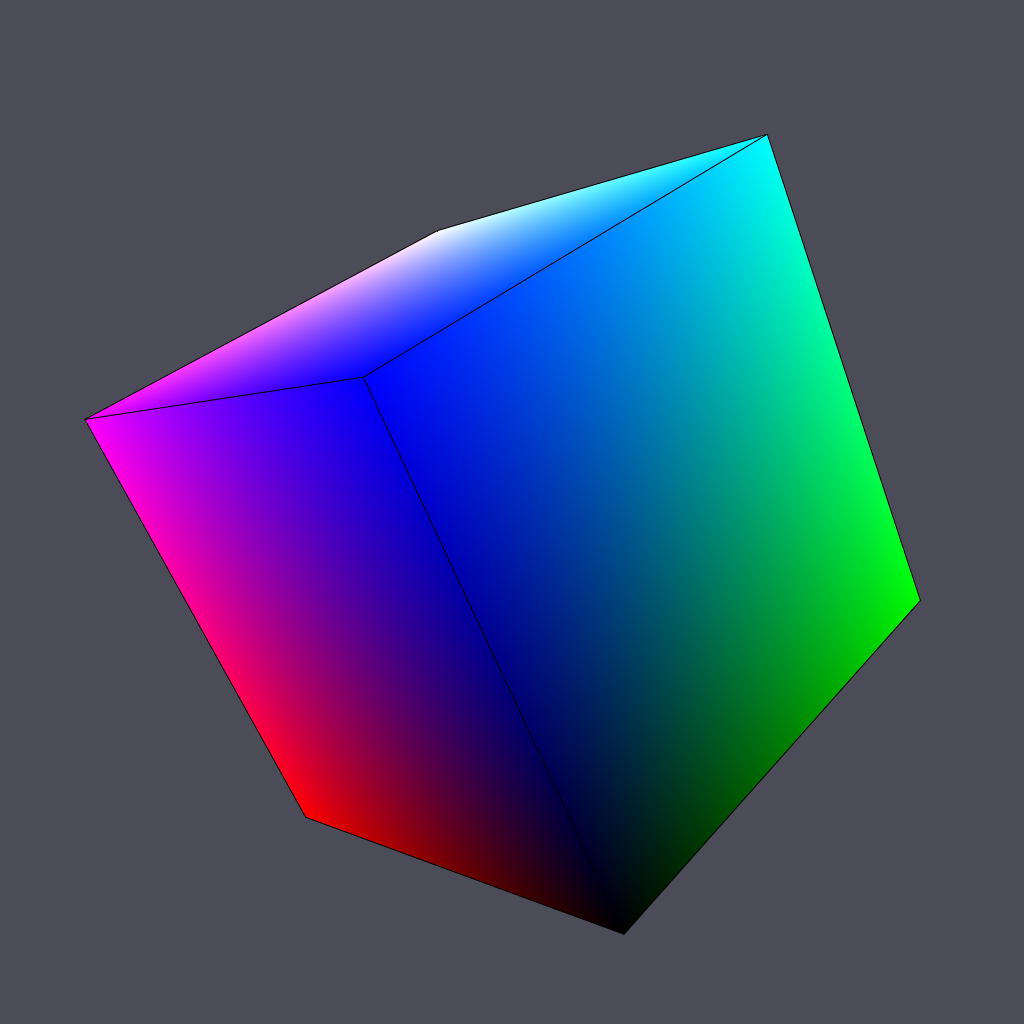
This variable is a varying meaning it is interpolated between the vertex and the fragment stage. We just need to tell OpenGL the color of each vertex and it will compute the inteprolated color for each fragment, giving us a nice colored cube.
Source: color-cube.py
Outlined cube
We can make the cube a bit nicer by outlining it using black lines. To outline the cube, we need to draw lines between couple of vertices on each face. 4 lines for the back and front face and 2 lines for the top and bottom faces. Why only 2 lines for top and bottom ? Because lines are shared between the faces. So overall we need 12 lines and we need to compute the corresponding indices (I did it for your):
O = [0,1, 1,2, 2,3, 3,0,
     4,7, 7,6, 6,5, 5,4,
     0,5, 1,6, 2,7, 3,4 ]
O = O.view(gloo.IndexBuffer)
We then need to draw the cube twice. One time using triangles and the indices index buffer and one time using lines with the outline index buffer. We need also to add some OpenGL black magic to make things nice. It’s not very important to understand it at this point but roughly the idea to make sure lines are drawn “above” the cube because we paint a line on a surface.
Source: outline-cube.py
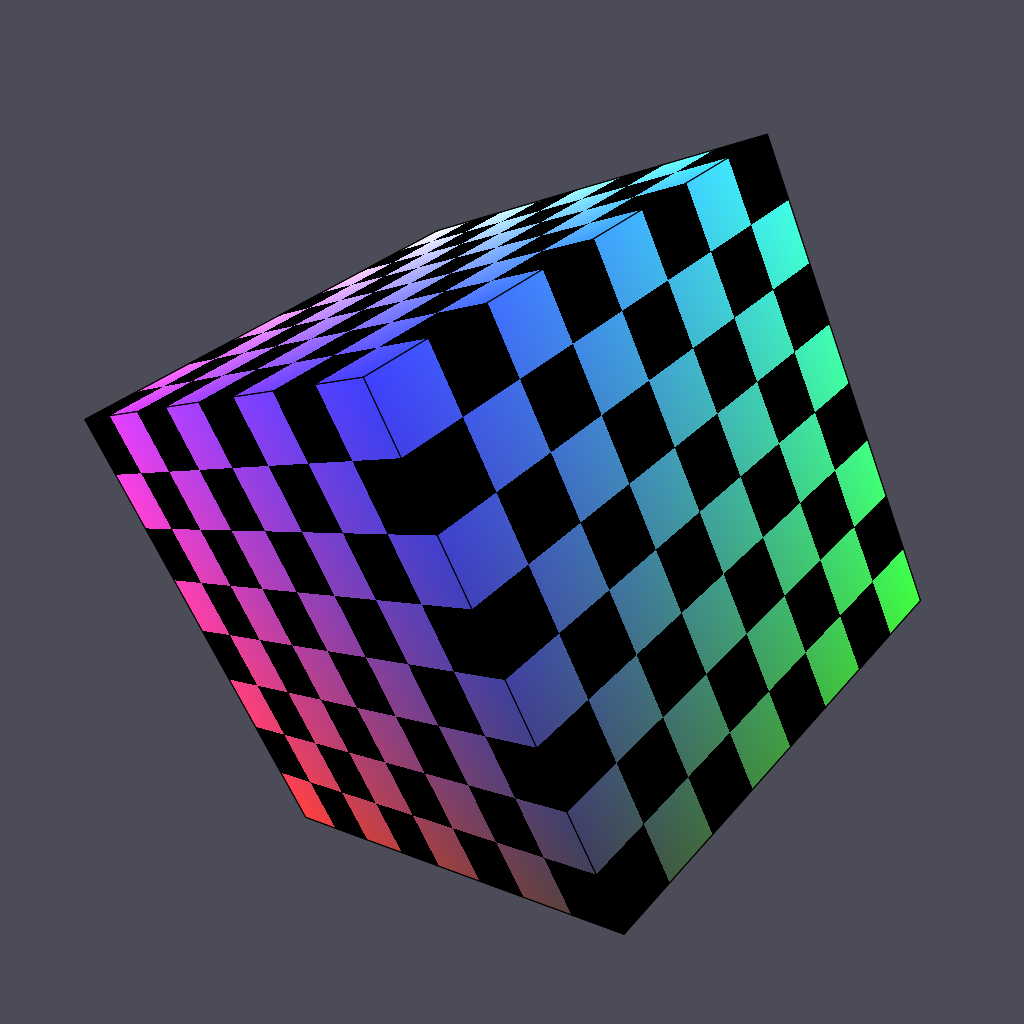
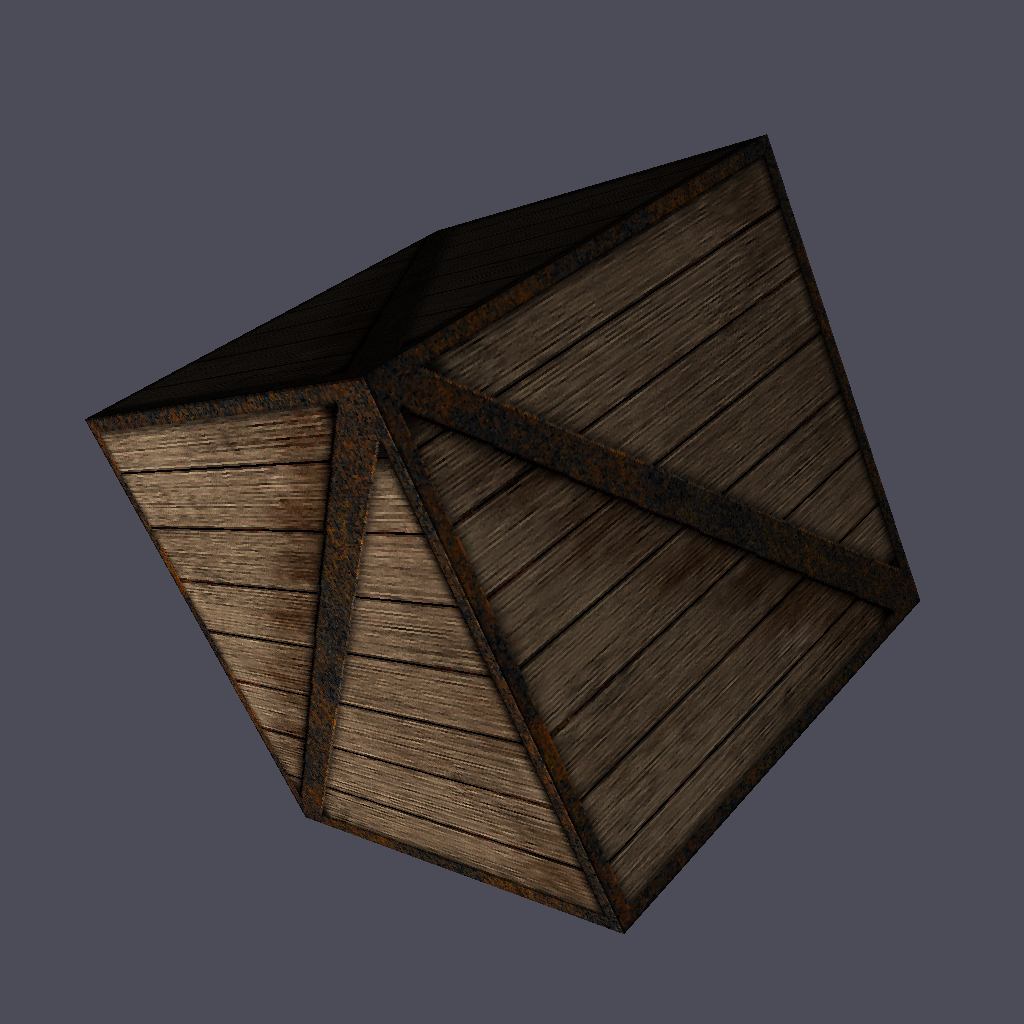
Textured cube
Using a texture is rather straightforward. We need a texture (a.k.a. an image) and some coordinates to tell OpenGL how to display textures. Texture coordinates are normalized and should be inside the [0,1] range (actually, texture coordinates can be pretty much anything but for the sake of simplicity, we’ll stick to the [0,1] range). Since we are displaying a cube, we’ll use one texture per side and the texture coordinates are quite easy to define: [0,0], [0,1], [1,0] and [1,1]. Of curse, we have to take care of assigning the right texture coordinates to the right vertexor you texture will be messed up.
Furthemore, we’ll need some extra work because we cannot share anymore our vertices between faces since they won’t share their texture coordinates. We thus need to have a set of 24 vertices (6 faces × 4 vertices). We’ll use the dedicated function below that will take care of generating the right texture coordinates as well as face normals (to be used in next section).
def cube():
    vtype = [('a_position', np.float32, 3),
             ('a_texcoord', np.float32, 2),
             ('a_normal',   np.float32, 3),
             ('a_color',    np.float32, 4)]
    itype = np.uint32

    # Vertices positions
    p = np.array([[1, 1, 1], [-1, 1, 1], [-1, -1, 1], [1, -1, 1],
                  [1, -1, -1], [1, 1, -1], [-1, 1, -1], [-1, -1, -1]], dtype=float)

    # Face Normals
    n = np.array([[0, 0, 1], [1, 0, 0], [0, 1, 0],
                  [-1, 0, 1], [0, -1, 0], [0, 0, -1]])

    # Vertice colors
    c = np.array([[0, 1, 1, 1], [0, 0, 1, 1], [0, 0, 0, 1], [0, 1, 0, 1],
                  [1, 1, 0, 1], [1, 1, 1, 1], [1, 0, 1, 1], [1, 0, 0, 1]])

    # Texture coords
    t = np.array([[0, 0], [0, 1], [1, 1], [1, 0]])

    faces_p = [0, 1, 2, 3,  0, 3, 4, 5,   0, 5, 6, 1,
               1, 6, 7, 2,  7, 4, 3, 2,   4, 7, 6, 5]
    faces_c = [0, 1, 2, 3,  0, 3, 4, 5,   0, 5, 6, 1,
               1, 6, 7, 2,  7, 4, 3, 2,   4, 7, 6, 5]
    faces_n = [0, 0, 0, 0,  1, 1, 1, 1,   2, 2, 2, 2,
               3, 3, 3, 3,  4, 4, 4, 4,   5, 5, 5, 5]
    faces_t = [0, 1, 2, 3,  0, 1, 2, 3,   0, 1, 2, 3,
               3, 2, 1, 0,  0, 1, 2, 3,   0, 1, 2, 3]

    vertices = np.zeros(24, vtype)
    vertices['a_position'] = p[faces_p]
    vertices['a_normal']   = n[faces_n]
    vertices['a_color']    = c[faces_c]
    vertices['a_texcoord'] = t[faces_t]

    filled = np.resize(
       np.array([0, 1, 2, 0, 2, 3], dtype=itype), 6 * (2 * 3))
    filled += np.repeat(4 * np.arange(6, dtype=itype), 6)

    outline = np.resize(
        np.array([0, 1, 1, 2, 2, 3, 3, 0], dtype=itype), 6 * (2 * 4))
    outline += np.repeat(4 * np.arange(6, dtype=itype), 8)

    vertices = vertices.view(gloo.VertexBuffer)
    filled   = filled.view(gloo.IndexBuffer)
    outline  = outline.view(gloo.IndexBuffer)

    return vertices, filled, outline
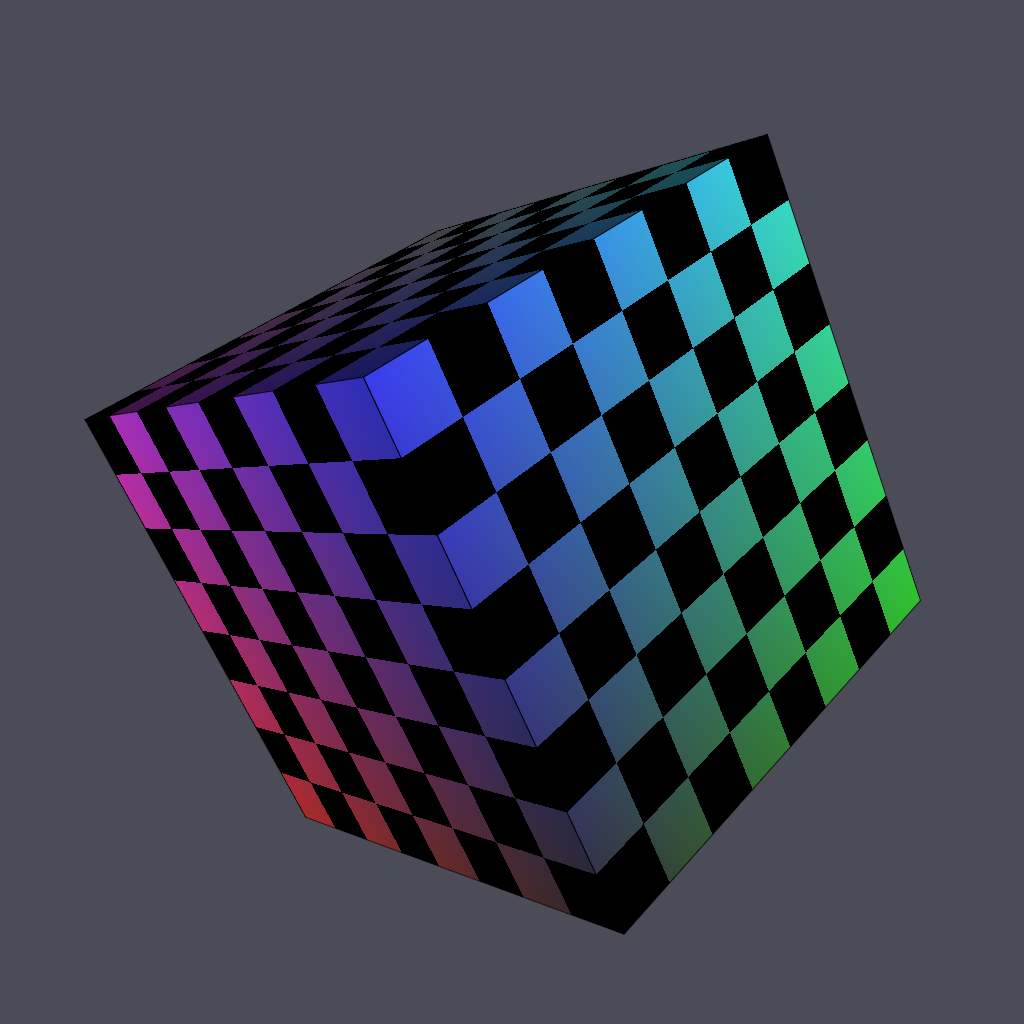
Now, inside the fragment shader, we have access to the texture and to the color. We can use one or the other or combined them into a single color:
vertex = """
uniform mat4   u_model;         // Model matrix
uniform mat4   u_view;          // View matrix
uniform mat4   u_projection;    // Projection matrix
attribute vec4 a_color;         // Vertex color
attribute vec3 a_position;      // Vertex position
attribute vec2 a_texcoord;      // Vertex texture coordinates
varying vec4   v_color;         // Interpolated fragment color (out)
varying vec2   v_texcoord;      // Interpolated fragment texture coordinates (out)

void main()
{
    // Assign varying variables
    v_color     = a_color;
    v_texcoord  = a_texcoord;

    // Final position
    gl_Position = u_projection * u_view * u_model * vec4(a_position,1.0);
} """


fragment = """
uniform vec4      u_color;    // Global color
uniform sampler2D u_texture;  // Texture
varying vec4      v_color;    // Interpolated fragment color (in)
varying vec2      v_texcoord; // Interpolated fragment texture coordinates (in)
void main()
{
    // Get texture color
    vec4 t_color = vec4(vec3(texture2D(u_texture, v_texcoord).r), 1.0);

    // Final color
    gl_FragColor = u_color * t_color * mix(v_color, t_color, 0.25);
} """
Source: texture-cube.py or texture-cube-simple.py (simpler)
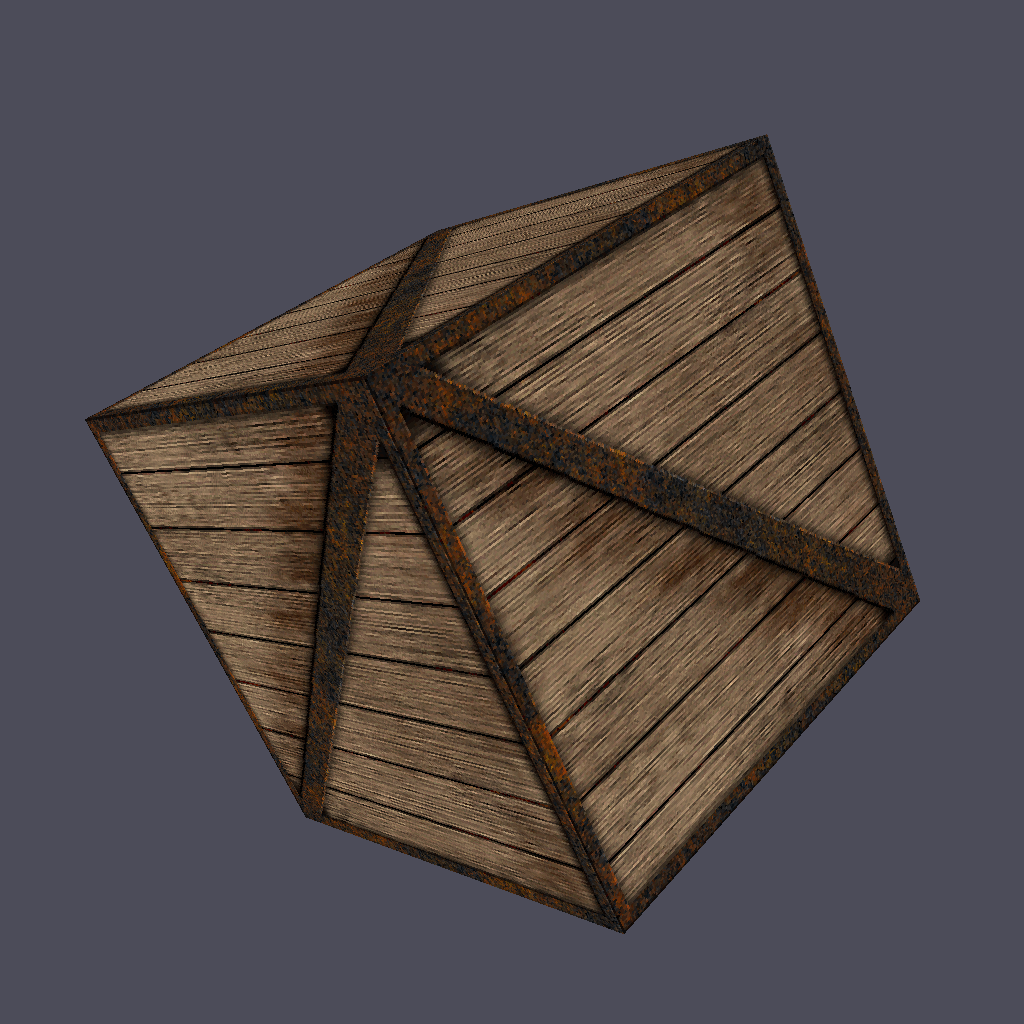
Lighted cube
For the final stage, we’ll add light to our scene. We have once again to compute everything inside the shader using a light model. We’ll stick to Phong shading but there are many other light models that coud be used.
Source: light-cube.py or light-cube-simple.py (simpler)